How to prepare children’s hair before installing a protective style
Protective hairstyles can make children’s hair easier to manage, especially when school, activities, and busy family schedules leave little time for daily styling.
But the way you prepare the hair before installing braids, twists, cornrows, or another protective style can make a significant difference.
If you’ve ever taken your child’s hair out of a protective style and found excessive tangling, dryness, or breakage, the problem may not have started during the hairstyle itself.
Sometimes, the preparation before the style was installed wasn’t enough.
Learning how to prepare children’s hair before installing a protective style can help make the styling process more comfortable and give the hair a better foundation.
The goal isn’t to create a complicated pre-braiding routine.
It is to make sure the hair is clean, adequately conditioned, properly detangled, and handled gently before styling begins.
How to prepare children’s hair before installing a protective style
Why Preparation Matters Before a Protective Style
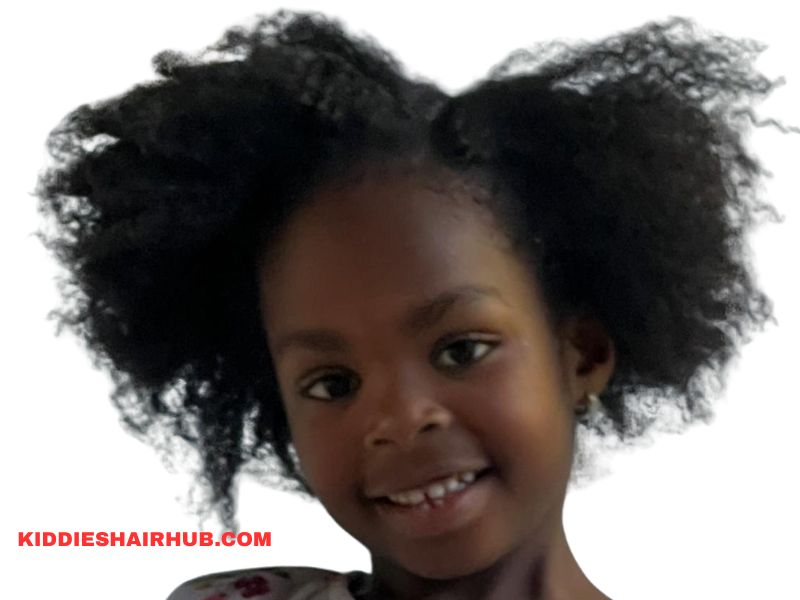
It can be tempting to move straight from an old hairstyle into a new one.
For example, you might take out your child’s old braids on Saturday and plan to install a new style the same day.
However, the hair and scalp may need some attention before another protective style is installed.
Children’s hair can accumulate product, sweat, shed hair, and everyday dirt over time.
Once a protective hairstyle is installed, access to the individual strands becomes more limited.
Preparing the hair beforehand gives you an opportunity to properly cleanse, condition, and detangle it.
It also gives you a chance to examine the scalp and hair before committing to another style.
Start With a Gentle Take-Down
Preparation for a new protective hairstyle actually begins with how you remove the previous one.
Don’t rush through the take-down process.
If your child’s hair has been braided or twisted for several weeks, you may notice shed hairs trapped within the style.
This is normal because everyone naturally sheds hair every day.
However, those loose hairs can become tangled with the rest of the hair during take-down.
Work through the old style carefully rather than pulling everything apart quickly.
If you encounter a knot, use your fingers to loosen it rather than immediately reaching for a comb.
This can reduce unnecessary tension before you even begin the washing process.
Remove Accessories Carefully
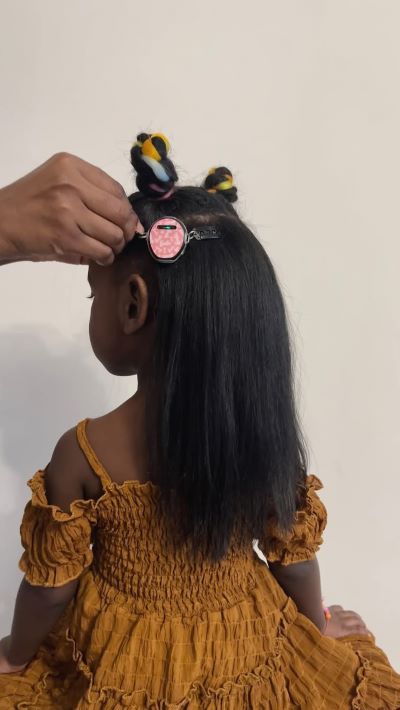
Be especially careful when removing beads, elastics, clips, and other accessories.
Accessories can sometimes catch individual strands of hair.
Pulling them out quickly can cause avoidable breakage.
Take your time and remove each accessory gently.
This may seem like a small part of the routine, but careful handling throughout the entire process is what helps protect children’s natural hair.
Give the Hair a Proper Cleanse

Once the previous hairstyle has been completely removed, the next step is usually cleansing.
Washing children’s hair before braiding helps remove accumulated products, sweat, and debris from the scalp and hair.
However, you don’t need to scrub aggressively.
The scalp should be cleansed gently using a product appropriate for your child’s hair and age.
Focus on cleaning the scalp rather than vigorously rubbing the lengths of the hair together.
Excessive friction can create tangles and make the next stage of the process more difficult.
Don’t Skip the Scalp
Parents sometimes focus so much on preparing the hair that they forget about the scalp.
Before installing a protective style, take a moment to look at the scalp.
If you notice unusual redness, irritation, sores, significant flaking, or anything else that concerns you, it may be better to postpone the hairstyle and seek appropriate professional advice.
A protective style shouldn’t be used to cover up an uncomfortable or concerning scalp.
Conditioning Makes Detangling Easier
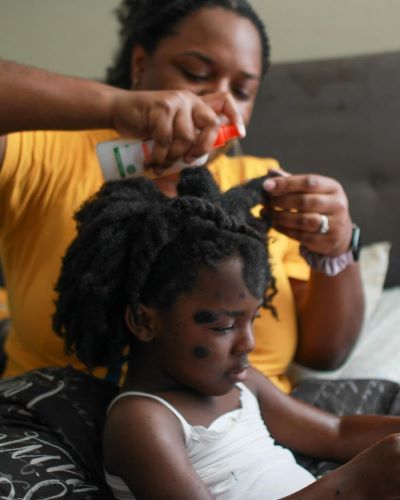
After cleansing, conditioning can make the hair easier to work with.
Natural hair can become more manageable when it has adequate moisture and slip.
This is particularly helpful if your child has tightly coiled or easily tangled hair.
Apply conditioner according to the product’s instructions and allow it enough time to work.
You don’t need to overload the hair with product.
The purpose is simply to make the strands easier to handle during detangling.
Detangle Before You Braid
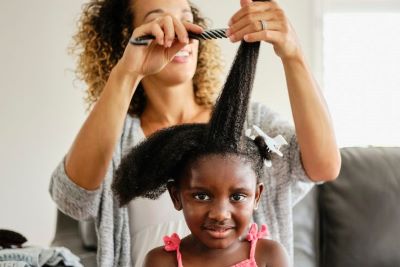
One of the most important steps in preparing children’s hair for braids is thorough but gentle detangling.
Trying to braid heavily tangled hair can result in unnecessary pulling.
Start by separating the hair into manageable sections.
Use your fingers to remove larger tangles first, then use an appropriate detangling tool if needed.
Work from the ends toward the roots instead of forcing a comb from the scalp through the entire length.
If you encounter resistance, stop and work through that section more gently.
There’s no prize for finishing the detangling process as quickly as possible.
Your child’s comfort and the condition of the hair matter more.
Don’t Make the Hair Extremely Stretched
Some parents prefer to stretch natural hair before braiding because it can make sectioning and styling easier.
That’s fine if stretching is part of your normal routine, but it doesn’t need to involve excessive heat or tension.
If you use heat, be especially cautious with children’s hair and follow appropriate safety practices.
You can also use non-heat methods to gently stretch the hair if they work for your child’s hair type.
The goal is manageable hair, not perfectly straight hair.
Protective styles can be installed on natural textured hair without trying to completely change its natural pattern.
Think About the Hairline Before Styling
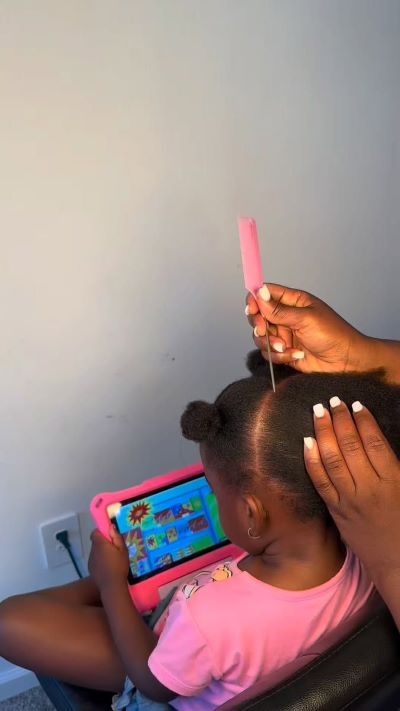
The hairline deserves attention before the protective style is installed.
If your child’s edges are already fragile or showing signs of breakage, avoid planning a style that will place additional tension on that area.
A hairstyle may look beautiful in a picture but still be unsuitable if it requires the front and sides to be pulled tightly.
This is especially important because the hairline can be more vulnerable to repeated manipulation.
A good kids protective hairstyle preparation routine should consider the condition of the hairline, not just how the finished hairstyle will look.
Kiddies Hair Hub Parent Corner
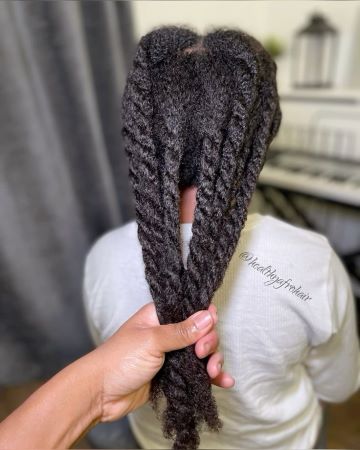
Photocredithttps://pin.it/5a6mntlIW
Before installing a new protective style, ask yourself one simple question:
Is my child’s hair ready for another style?
Look at the scalp.
Look at the hairline.
Look at the ends.
Think about whether the hair feels excessively dry or tangled.
And most importantly, listen to your child.
If their scalp is uncomfortable or their previous hairstyle caused significant discomfort, consider giving the hair a break instead of immediately installing another style.
Protective styling should make hair care easier, not create additional stress.
Quick Win
Before your child’s next braid or twist appointment, set aside enough time for a proper wash, conditioning, and gentle detangling session.
Don’t make the appointment immediately after removing an old style if the hair still needs attention.
Giving yourself extra preparation time can make the entire installation process smoother.
Moisture Before a Protective Style
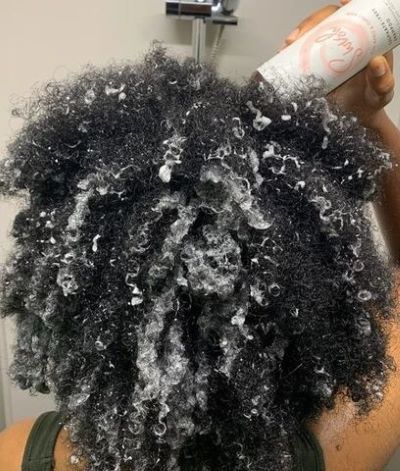
Photocredithttps://pin.it/5lWfwC1JO
Once your child’s hair has been washed and conditioned, the next consideration is moisture.
Natural hair doesn’t need to be saturated with products before braiding or twisting.
In fact, applying too many products can leave buildup on the hair and scalp, which may make the protective style uncomfortable or difficult to maintain.
Instead, aim for hair that feels clean, soft, and manageable.
The right approach will depend on your child’s hair and the products you normally use.
If a lightweight leave-in conditioner works well for your child’s routine, you may use it according to the product instructions before styling.
The goal of pre-braid hair care for kids is not to coat the hair with multiple products. It is to create a manageable foundation for the hairstyle.
Should Children’s Hair Be Completely Dry Before Braiding?
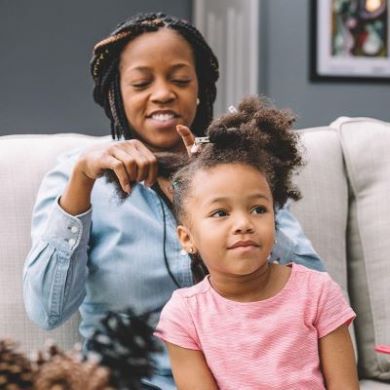
Photocredithttps://pin.it/2XXhjoEl4
This depends on the styling method and the person installing the hairstyle.
If you’re braiding or twisting the hair yourself, follow the requirements of the particular style and products you’re using.
Many parents find that slightly stretched, manageable hair is easier to section and work with.
However, avoid installing a protective style while the hair is excessively wet.
Hair can behave differently when wet, and manipulating it repeatedly during a long styling session may not be comfortable.
If you’re having the hairstyle installed professionally, ask the stylist whether they prefer the hair freshly washed, stretched, or completely dry before the appointment.
Avoid Excessive Product Buildup

Photocredithttps://pin.it/2FISJGaA4
More product doesn’t necessarily mean better-prepared hair.
It can be tempting to apply oil, cream, leave-in conditioner, gel, and other products before braiding.
But layering too many products can leave the hair coated and may contribute to buildup.
A simple routine is often enough:
Clean hair → conditioning → gentle detangling → appropriate preparation → protective style
You can then maintain the hairstyle according to your child’s needs rather than trying to put everything into the preparation stage.
Prepare the Hair in Sections
Photocredithttps://pin.it/5wZqVHhSY
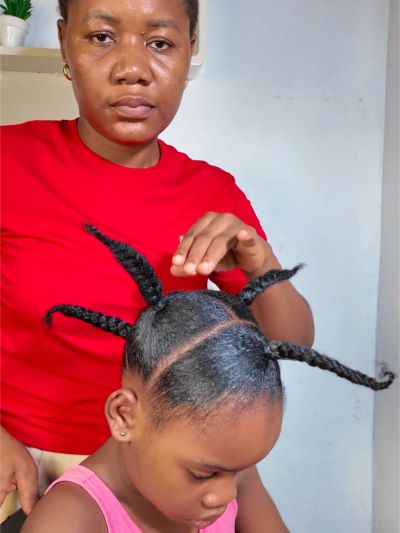
Sectioning can make the installation process much easier.
After the hair has been properly detangled, divide it into manageable sections.
The size of the sections will depend on the hairstyle you’re creating.
Smaller sections may be useful for smaller braids or twists, while larger sections can work for chunkier styles.
The important thing is to avoid repeatedly separating and recombing the same area.
Once you’ve created a section, handle it gently and move on to the next one.
This can help make the styling process more organized and reduce unnecessary manipulation.
Don’t Pull the Sections Too Tightly
Sectioning the hair doesn’t mean stretching it as far as possible.
If you’re preparing children’s hair for braids, avoid creating extremely tight sections simply because you want a very sleek finish.
You should be able to work with the natural texture without forcing every strand into position.
A comfortable installation is more important than achieving a perfectly smooth base.
Think About the Protective Style Before You Start
Preparation should also include deciding whether the hairstyle is appropriate for your child.
Before choosing a style, consider:
How long will it take to install?
How long will your child need to wear it?
Will they participate in sports or other activities?
Does the hairstyle place tension around the hairline?
Can your child sleep comfortably with it?
Will you be able to maintain it properly?
A hairstyle that looks beautiful but causes discomfort isn’t a good protective style.
Consider Your Child’s Age
Younger children may not tolerate long styling sessions as well as older children.
If your child is very young, a simple style may be more practical than a complicated installation that requires several hours of sitting still.
Older children may have more patience and may also be able to communicate more clearly if something feels uncomfortable.
Their preferences matter too.
If your child dislikes a particular hairstyle, choosing something they feel comfortable wearing can make maintenance much easier.
Prepare Your Child, Not Just Their Hair
Photocredithttps://pin.it/6YzbVkwfr
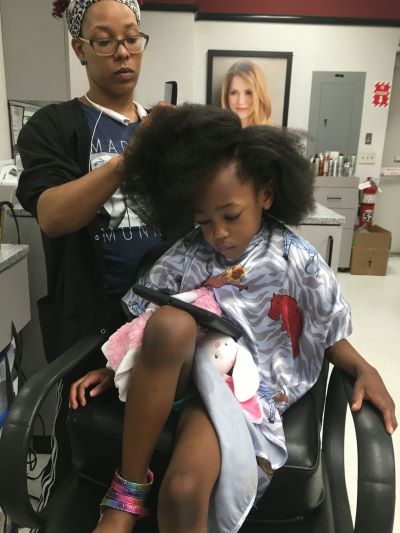
One of the most overlooked parts of how to prepare kids’ hair for protective styles is preparing the child.
If your child knows that they’re going to sit for a long styling session, explain what will happen beforehand.
You can let them choose between two or three suitable hairstyles.
You might also prepare something quiet for them to do during the appointment, such as reading a book or watching age-appropriate entertainment.
The goal isn’t to force them to sit still without explanation.
It’s to make the experience predictable and comfortable.
Take Breaks During Long Styling Sessions
Photocredithttps://pin.it/3K4XCLjfv
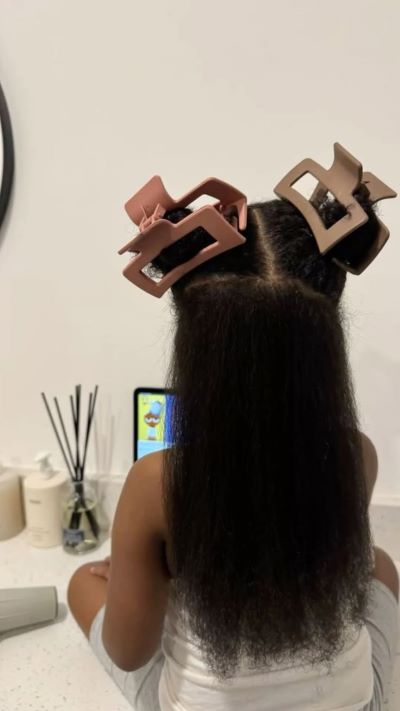
If you’re installing the hairstyle at home and the process takes a long time, consider taking short breaks when appropriate.
Children may need to move, stretch, eat, drink water, or simply take a break from sitting.
There’s no reason to rush through the process.
A calm styling session can be much easier for both the parent and child.
Pay Attention to the Hairline
Photocredithttps://pin.it/3UuTLgQeF
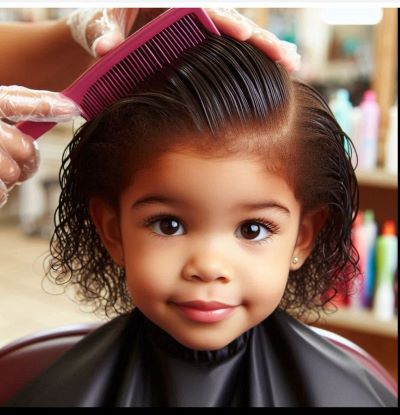
Before the protective style is installed, take another look at the hairline.
If you notice that the edges are already fragile, don’t choose a hairstyle that requires strong pulling in that area.
This is especially important if your child has recently worn several styles that placed tension on the front or sides.
You may decide that a looser hairstyle is more appropriate.
Protective styling should protect the hair, not repeatedly stress the same strands.
Don’t Use Protective Styles to Hide Hair Problems
A protective hairstyle should not be used as a way to avoid addressing an underlying hair or scalp concern.
If your child has persistent scalp irritation, unusual hair loss, significant breakage, or another concern that doesn’t seem related to ordinary styling, consider getting professional advice before installing another style.
It’s better to understand the problem first.
Kiddies Hair Hub Parent Corner (How to prepare children’s hair before installing a protective style)
One of the easiest ways to improve your child’s protective styling routine is to stop thinking of the installation as the beginning of hair care.
The care begins before the first braid or twist is made.
Clean the hair.
Condition it.
Detangle patiently.
Examine the scalp.
Consider the hairline.
Choose a comfortable style.
And prepare your child for the experience.
These simple steps can make the finished hairstyle easier to manage and more comfortable to wear.
Quick Win
Before your next protective-style appointment, write down three things:
What worked well with the last hairstyle?
What caused problems?
What would you change this time?
Maybe the last style was too tight around the temples.
Maybe it took too long to install.
Maybe your child struggled to sleep comfortably.
Use those observations to choose a better hairstyle next time.
What to Do Immediately After the Protective Style Is Installed
Once the braids, twists, or another protective style is finished, take a moment to check how your child feels.
Don’t focus only on how the hairstyle looks.
Ask whether anything feels too tight, uncomfortable, or painful.
Pay particular attention to the hairline and temples.
These areas can sometimes experience tension during installation even when the finished hairstyle looks neat.
If your child complains of pain or significant discomfort, don’t assume they simply need to get used to the hairstyle.
The style may need to be loosened or changed.
A protective hairstyle should be comfortable from the beginning.
Don’t Ignore Early Signs of Tension
Sometimes a hairstyle can look fine while your child is experiencing discomfort.
Watch for signs such as:
- Complaints of pain or pulling.
- Headaches after installation.
- Constantly touching or adjusting the hairstyle.
- Tenderness around the scalp.
- Noticeable pulling around the hairline.
If something doesn’t feel right, address it early.
Waiting until the hairstyle has been worn for several days can make the situation more difficult to manage.
Keep the Scalp and Hair Clean During the Style
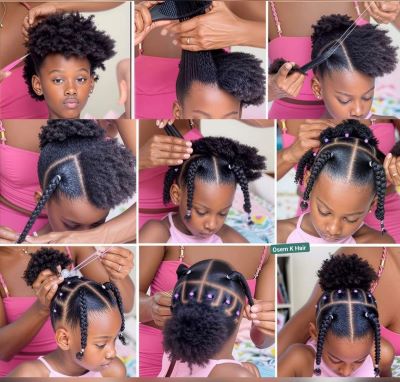
Photocredithttps://pin.it/6CvXbmX8E
A protective hairstyle doesn’t mean the scalp should be ignored until the style is removed.
How you maintain the scalp will depend on the hairstyle and your child’s normal hair-care routine.
If the style is going to remain in for an extended period, follow the maintenance instructions appropriate for that hairstyle and the products you’re using.
Avoid constantly adding products simply because the hair looks dry.
Too much product can lead to buildup and make the eventual take-down more difficult.
Protect the Hair at Night

Photocredithttps://pin.it/NdrKnIMnF
Nighttime care can help reduce friction while your child sleeps.
A smooth pillowcase can be useful, especially for children who don’t like wearing a bonnet or other head covering.
If your child does use a bonnet or scarf, make sure it is comfortable and appropriate for them.
The goal is simply to minimize unnecessary friction while allowing your child to sleep comfortably.
Don’t Keep a Protective Style In Too Long
A protective style isn’t meant to stay in indefinitely.
How long it should remain depends on the hairstyle, your child’s hair, the condition of the scalp, and the maintenance routine.
As the style becomes older, pay attention to tangling, buildup, new growth, and the overall condition of the hair.
Keeping a style in longer isn’t necessarily better.
Sometimes removing it and giving the hair attention is the healthier choice.
Take-Down Is Part of Protective-Style Care
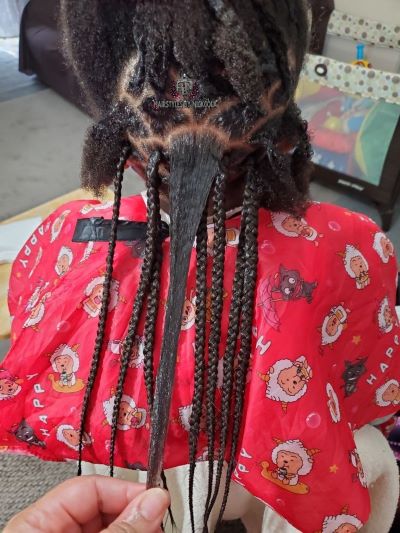
Photocredithttps://pin.it/4maSqwfw2
The protective-style routine doesn’t end when the hairstyle looks old.
Take-down is just as important as installation.
Remove braids or twists patiently.
Don’t pull through knots.
Separate shed hairs carefully.
Give yourself enough time to detangle the hair afterward.
If you rush this stage, you may undo some of the care you took during preparation.
Remember that shed hair can become trapped within braids and twists.
Seeing loose strands during take-down doesn’t automatically mean your child’s hair has suddenly started falling out.
Give the Hair Attention Between Styles
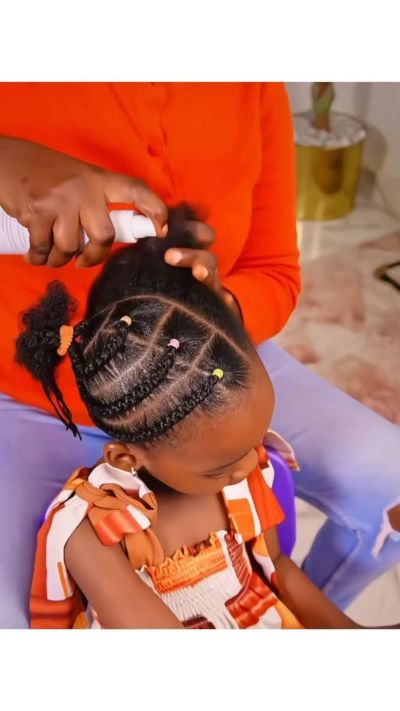
Photocredithttps://pin.it/4CQVax2lD
After removing a protective hairstyle, don’t feel pressured to install another one immediately.
Look at the condition of your child’s hair and scalp.
If the hair feels dry, tangled, or stressed, give yourself time to wash, condition, detangle, and care for it before deciding on the next style.
Some children may benefit from periods of simpler hairstyles between protective styles.
The goal is to create a routine that supports healthy hair care over time rather than constantly moving from one installation to another.
Common Mistakes Parents Make Before Protective Styling
One common mistake is rushing the preparation process.
When parents have limited time, it can be tempting to remove the old hairstyle, quickly wash the hair, and immediately start braiding.
However, giving yourself more time can make the entire experience easier.
Another mistake is trying to remove every natural curl or texture before styling.
Your child’s hair doesn’t need to look straight before you can braid or twist it.
Trying too hard to stretch or smooth the hair can add unnecessary manipulation.
A third mistake is choosing a hairstyle based entirely on appearance.
A beautiful style isn’t automatically a suitable style.
Consider your child’s comfort, activities, hair condition, and ability to maintain the hairstyle.
Finally, avoid assuming that more products equal better preparation.
Clean, conditioned, manageable hair is usually a better starting point than hair covered with multiple layers of products.
A Simple Pre-Braid Routine for Kids
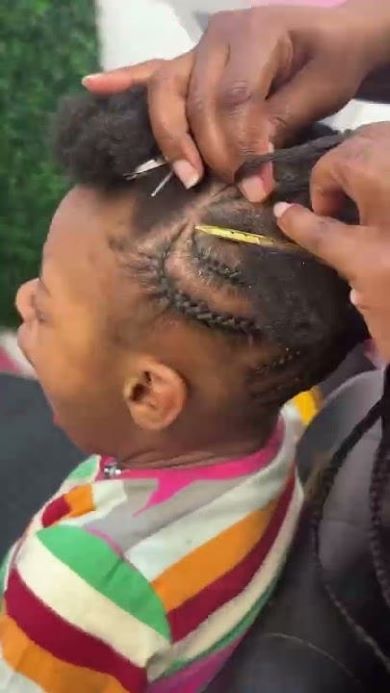
Photocredithttps://pin.it/T4GIEIlNa
If you want to keep the process simple, your routine can look something like this:
Remove the previous style gently.
Take your time removing braids, twists, beads, and accessories.
Cleanse the hair and scalp.
Use a suitable cleanser and avoid excessive rubbing.
Condition the hair.
Allow the conditioner to soften and improve manageability.
Detangle in sections.
Start from the ends and work gradually toward the roots.
Prepare the hair according to the chosen style.
This might include gentle stretching or sectioning.
Check the scalp and hairline.
Look for anything that needs attention before installation.
Choose a comfortable protective style.
Consider your child’s age, hair, activities, and preferences.
This simple process can make preparing children’s hair for braids much more manageable.
Frequently Asked Questions
Should I wash my child’s hair before braiding?
In many cases, washing and conditioning before a new protective style is a useful part of preparation.
It helps remove accumulated products and debris and gives you an opportunity to detangle the hair before installation.
What should I put on my child’s hair before braiding?
There isn’t one product that every child needs.
Depending on the child’s hair and routine, a suitable conditioner or lightweight moisturizing product may help with manageability.
Avoid applying excessive layers of products.
Should children’s hair be wet or dry before braiding?
This depends on the hairstyle and installation method.
Follow the requirements of the products and technique being used.
If you’re working with a professional stylist, ask how they prefer the hair prepared.
How do I detangle my child’s hair before braiding?
Separate the hair into manageable sections, loosen larger tangles with your fingers, and work from the ends toward the roots.
Avoid forcing a comb through resistant knots.
How can I prepare my child’s hair for protective styles without causing breakage?
Focus on gentle handling throughout the process.
Remove the previous style carefully, condition the hair, detangle patiently, avoid excessive tension, and choose a hairstyle that doesn’t pull unnecessarily on the hairline.
Should I stretch my child’s hair before installing braids?
Stretching can make some hairstyles easier to install, but it isn’t always necessary.
If you stretch the hair, choose a gentle method that works for your child’s hair rather than trying to completely straighten its natural texture.
How long should my child wear a protective hairstyle?
There isn’t one appropriate length of time for every protective style or every child.
Consider the condition of the hairstyle, scalp, hair, and new growth, and follow appropriate maintenance practices.
Remove the style if it becomes uncomfortable or difficult to maintain.
Kiddies Hair Hub Parent Corner(How to prepare children’s hair before installing a protective style)
Protective styling can be a wonderful part of a child’s hair-care routine, but preparation is what helps set the hairstyle up for success.
Clean hair, proper conditioning, gentle detangling, thoughtful style selection, and attention to the hairline can all make a difference.
You don’t need dozens of products or an elaborate routine.
What matters most is consistent, gentle care.
And remember that protective styling isn’t about keeping your child’s hair hidden.
It’s about reducing unnecessary daily manipulation while still allowing you to care for the hair and scalp underneath.
Quick Takeaways
- Prepare the hair before installing a new protective style.
- Remove previous braids and twists carefully.
- Cleanse and condition the hair before styling.
- Detangle gently in manageable sections.
- Don’t force combs through knots.
- Avoid excessive product buildup.
- Consider the condition of the hairline before choosing a style.
- Never ignore pain or significant discomfort after installation.
- Protect the hair from unnecessary friction at night.
- Give the hair appropriate attention between protective styles.
- Take down braids and twists patiently.
- Choose comfort and healthy hair care over hairstyle longevity.
conclusion(how to prepare children’s hair before installing a protective style)
Knowing how to prepare children’s hair before installing a protective style can make the entire styling process easier for both parents and children.
Preparation doesn’t need to be complicated.
Start by gently removing the previous hairstyle, cleanse the scalp and hair, condition thoroughly, and take your time with detangling.
From there, consider the child’s hair condition, hairline, age, activities, and comfort before choosing the next style.
A protective hairstyle should support your child’s hair-care routine, not create additional tension or stress.
And perhaps most importantly, don’t judge the success of a protective style only by how beautiful it looks when it’s finished.
A successful hairstyle should also be comfortable, manageable, and appropriate for your child’s hair and everyday life.
This post has shown you how to prepare children’s hair before installing a protective style you can adopt.
HOW TO PROTECT YOUR HAIR FROM CHLORINE & SALTWATER DAMAGE
HOW TO MAKE CORNROWS WITH STRAIGHT HAIR: A STEP-BY-STEP COMPREHENSIVE GUIDE
BEST TIPS FOR MAINTAINING A HEALTHY HAIR
How to Prevent Split Ends in Children’s Natural Hair
Why Does My Child’s Hair Break Around the Hairline?
25 Easy Protective Hairstyles for Black Girls With Short Natural Hair
How to Prevent Split Ends in Children’s Natural Hair
15 Easy Hairstyles for Toddlers With Natural Hair
How to Wash Braids and Protective Styles Without Ruining Them
20 Cute School Hairstyles for Black Girls (Quick and Easy Ideas)
15 Protective Hairstyles for Black Kids That Help Reduce Breakage
Leave a Reply